Monday, 1 August 2011

Fishing Cards


Image is Anita's.
Kraft card blank by Woodware


Image sticker is a very old K& Company
Sentiment is Craftwork Cards
Paper is K& Company and also My Mind's Eye

Saturday, 30 July 2011

Life


Vellum quote is by DCWV
Paper is K & Company
Butterfly is a Martha Stewart punch
Button brads by Making Memories

Thursday, 28 July 2011

Flourish


Main image is Sizzix Letterpress "Organic Flourish"
Sentiment is a Magnolia stamp.

Tuesday, 26 July 2011

Invitations


Once I made someone's wedding stationery.
 I swore blind I would never do it again because I hated the repetitiveness of it. Then last year I compromised and did a small order, swearing again that it would be the last time.

This weekend I found myself doing a bulk order of invitations, I couldn't say no.
The wording is from a set of clear stamps by Habico, punch is 'Lattice Hearts' by Martha Stewart.
'50' in the bottom right corner is Sizzix Block Party.

Sunday, 24 July 2011

Hanglar Stanglar


Image was sent in a swap, coloured with Copic markers.
Edge punch is Martha Stewart and photo corner punch is EKS.

Friday, 22 July 2011

Lili Of The Valley


Image is by Lili Of The Valley and was free with a craft magazine recently. I coloured it with Copic markers.
Patterned paper is My Mind's Eye. Sentiment is Craftwork Cards layered using SU punches.
The photo-corner punch is EKSucess.

Wednesday, 20 July 2011

Thinking Of You


Patterned paper is Basic Grey.
Sentiment is a HOTP stamp, main stamped image is Inkadinkado.

Monday, 18 July 2011

Letterpress


This is my new toy. A Letterpress plate from Sizzix.
I've only had chance for a quick play but I like it so far.

Quickutz brought out a Letterpress system a year or so back and I saw it demonstrated on QVC and was slightly tempted but held back. I liked the effect it made but did not like the idea of having to buy the kit (was about £60 I think) then tubes of what looked like very sticky ink/ paint, then the hassle of trying to get it all clean.
I'm glad I never bought it because having read reviews on blogs it sounded like a waste of money!

So now Sizzix have brought out a much, much cheaper version of Letterpressing.
I paid £3.75 for this plate and just used it with some inks I already have (Brilliance ink-pads).
Basically you run the ink-pad over the plate and then mangle it through the Cuttlebug/ Big Shot like you would  a normal embossing folder.
Very simple and no messiness, just wipe the plate down with a baby wipe afterwards.


You can use the plate without any ink, it will just give a de-bossed effect (ie like embossing but the pattern isn't raised it's sunk).
Used with ink the ink will sit inside the sunken area so it's like a cross between embossing and stamping.
The paper you use will determine how it looks and you can also use shims to get a deeper de-boss.


You can just about see on this photo that this attempt is not perfect, I moved the card when pushing it through my 'Bug.
There are a few tutorials on You Tube, some of them are using SU plates but they aren't available in the UK. I'm hoping Sizzix bring out some more styles because at the moment I like the effect but am not keen on most of the plates, I'd love a Christmassy one.

Saturday, 16 July 2011

Happy Birthday


Patterned paper is Echo Park, the Happy Birthday is reverse of the same paper.
Flower is Prima with a Making Memories button brad.

Thursday, 14 July 2011

Love Life...


I'm not sure what the correct name is for this kind of card.
Anyway made at SU class.

The blank pink section in the middle is for a photo or poem or whatever.


Tuesday, 12 July 2011

Birthday Wishes


Made at SU class

Sunday, 10 July 2011

Happy Birthday


Card we made at SU class to match the gift bag on previous post.

Friday, 8 July 2011

For You


A little gift bag we made at SU class, all materials are SU.


Wednesday, 6 July 2011

You Rock


Similar to one I made a few weeks ago but I'm trying to work through stacks of patterned paper.
Sentiment is an American Crafts rub-on.
A while back I sent a card to one of the card-making magazines, a few months later I received a huge package of assorted free stash, the rub-ons were part of that package. So is worth sending stuff off! (the card I sent wasn't that brilliant but it fitted a seasonal theme they were using).

Monday, 4 July 2011

Have A Great Day


Paper is Echo Park. Rub-on sentiment by American Crafts.

Saturday, 2 July 2011

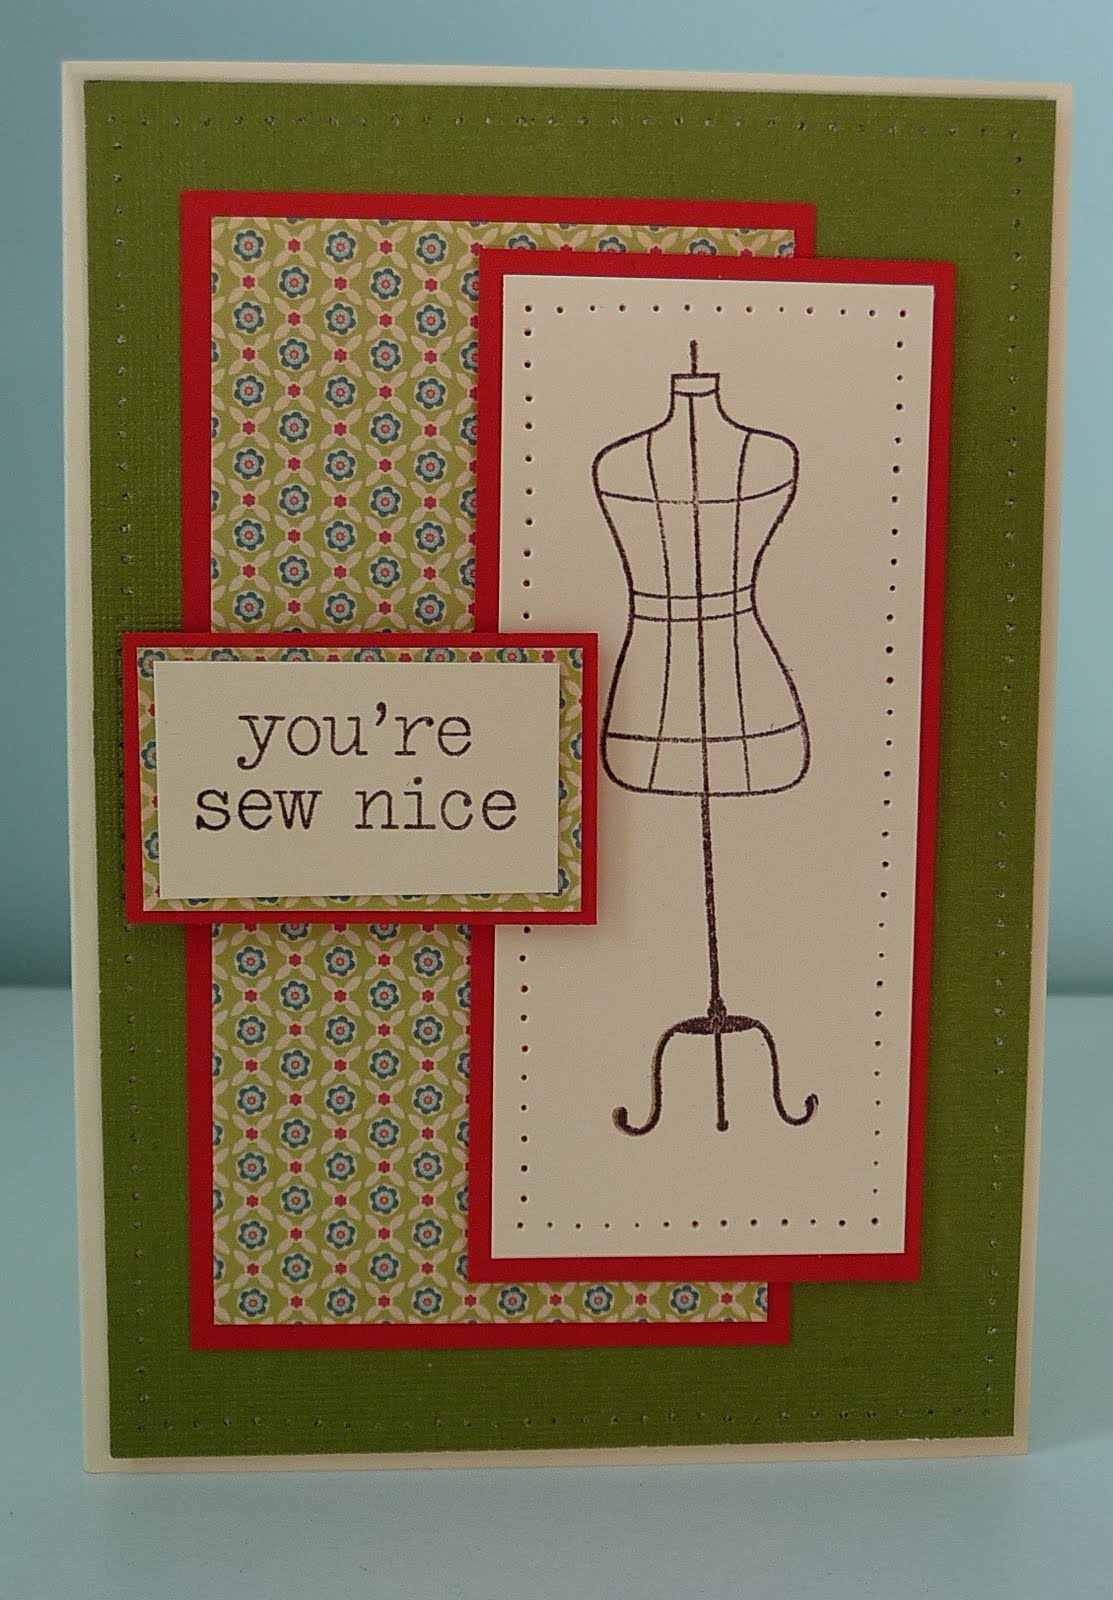
You're So Nice


Stamps are Hero Arts.
Paper is from my scrap box so no idea what make.

Thursday, 30 June 2011

Happy Birthday


More bargain WRMK paper (beginning to wish I hadn't bought so much).
Sentiment stamp and matching punch are SU

Tuesday, 28 June 2011

Get Well Soon


Basically the same as the previous card.
Paper and die-cut by K & Company, sentiment stamped with Woodware stamp. I've added some glitter to the patterned paper too.

Sunday, 26 June 2011

Get Well Soon


Paper is WRMK.
Die-cut is K& Company and I've stamped the sentiment with a Woodware stamp.
Kraft cardblank is also by Woodware.

Friday, 24 June 2011

Father's Day Gift Bag


A little gift bag to match the card on previous post.
Made at SU class.


Wednesday, 22 June 2011

Father's Day


This was the Father's Day card we made at SU class.
I couldn't give this one to my dad because my mum made the same card (she comes to class with me) and she wanted to give him it.

A new technique we learned was how to make a splattered effect with a felt-pen and a spritzer tool.
I guess I'll be putting the spritzer tool thingy on my next order.


Tuesday, 21 June 2011

Father's Day


This is the card I made for my dad this year, he loves anything nautical.
Image is Anita's, I found the verse on the internet.
Faux bow (strip of ribbon, small piece of looped ribbon attached horizontally and then a smaller loop going over both vertically).

Monday, 20 June 2011

Thanks Sew Much


Made at class, all materials SU.

Saturday, 18 June 2011

Sewing Kit


Made at SU class.
We stamped some white ribbon to look like a tape measure and made the inner box from a single sheet of 6x6.
Just the right size to hold a couple of small reels of cotton and some needles.


Thursday, 16 June 2011

Happy Birthday


Not keen on this one but it's using up the masses of WRMK paper that I bought in TKMaxx recently.
Sentiment is SU.

Tuesday, 14 June 2011

Happy Birthday


Paper is by Echo Park (the red and white is the reverse)
Sentiment from a freebie pack of rub-ons.
Stars are a Sizzix die

Sunday, 12 June 2011

Happy Birthday


Patterned card is Mariposa by DCWV. I've put self-adhesive pearls on random butterflies.
Sentiment is SU.

Friday, 10 June 2011

Love


I don't like this card but thought I'd show it anyway!
When I've been blog-hopping I've seen quite a few cards made with SU 'Baby Blossoms' stamp set, mostly in pinks and blues. I thought I'd try a completely different colour scheme and when I did I realised why the pink and blue is so popular (because it looks nice! mine looks dull).

Wednesday, 8 June 2011

Recycling


I really like Orla Kiely's designs but have got fed up waiting for her to bring out a craft line. Instead I bought a scent diffuser and cut up the packaging to make cards with (I did actually want the diffuser, I'm not mad enough to buy something just for the box!)


In the end I managed to get four cards from the one, quite small, box so was happy with that.


Monday, 6 June 2011

Anniversary


My wedding anniversary today so I made this card for my husband.
I wanted to try something a bit different to the usual hearts etc.

I've used clear embossing ink and powder with an Autumn Leaves swirl stamp. All the word stickers down the left hand side are by K&Company, the glitter stickers on the right are by Making Memories.

Saturday, 4 June 2011

New Home


I bought some very cheap WRMK paper recently in TKMaxx so am trying to use it all up before I get bored of it
Alphabet is Sizzix Script.

Thursday, 2 June 2011

Peg


I'd been looking for some over-sized pegs for a very long time with absolutely no luck. I think part of the problem was I have no idea what the correct name for them is so Google just brought up normal wooden clothes pegs.
Anyway I finally discovered them in a craft shop at Embsay near Skipton. They have a website here.


I wasn't sure whether or not to take the pegs to bits and then paint/ varnish. My worry was that I would not be able to put them back together! I know there's not much to a peg but sometimes in the past I have painted things and it has altered them somewhat with regards to size, ie drawers no longer fitting etc.

So for the first one I decided to keep it simple and just slap some patterned paper on, adhered with Mod Podge. Paper, button and seam binding all by Stampin' Up.

I purposely put the paper on upside down because I knew I would mostly be using the peg upside down too, as a memo holder.


Literally a five minute project :)