Recently my parents celebrated their Golden Wedding anniversary.
I offered to do all the stationery and party stuff instead of buying them a present.
Lots of photos here to explain it all :)
Pure coincidence that they had fifty guests, it wasn't planned that way. I really don't like repetition in crafting so this was a labour of love for me.
Initially I was going to make fifty favour boxes using my various Sizzix box dies but then decided there was enough to do with the invitations, table plan etc!
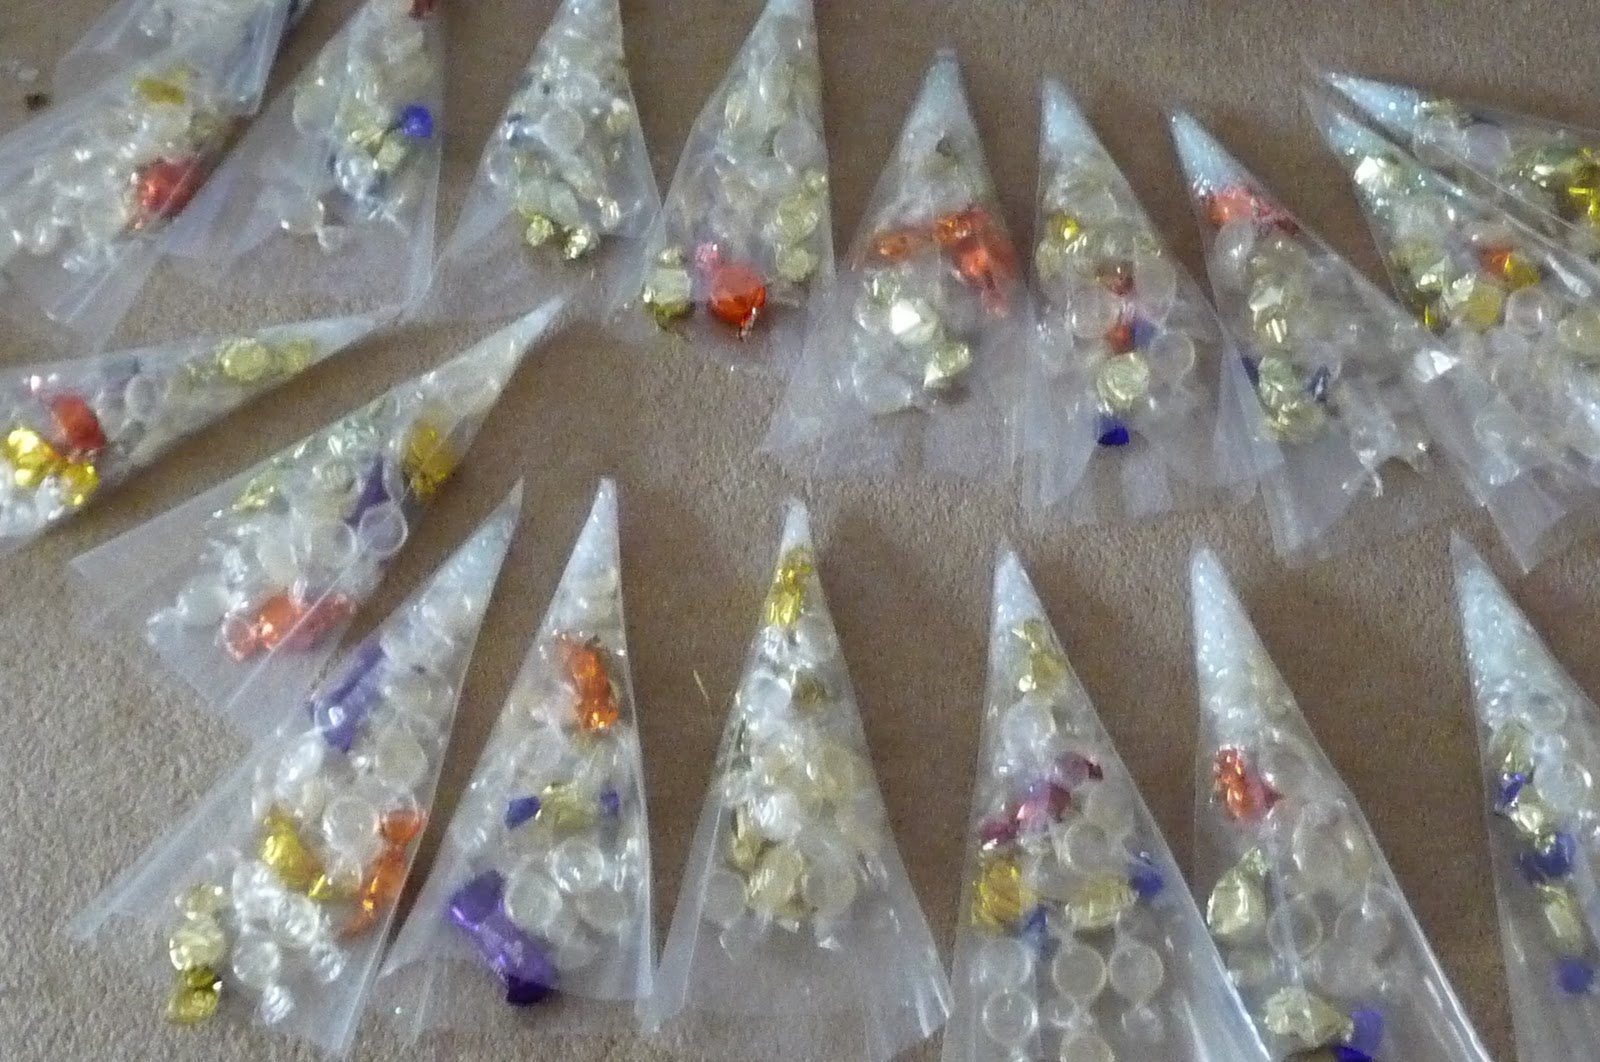
Instead I bought a pack of disposable icing bags (Lakeland Ltd) and filled them with a variety of sweets in gold and clear, sweets were just Sainsbury's value range so it didn't cost too much to fill them. I know traditionally wedding favours are meant to be in fives but as this was an anniversary and not a wedding I didn't think that would matter.
The night before the party I tied handmade tags on with curling ribbon. I didn't do this beforehand as thought the ribbon may get squashed in transit (party was three hours from where we live).
Next it was after-dinner mints.
I printed the messages and then cut with punches. All punches used are Stampin' Up!
Mints are often on 3 for 2 so an inexpensive addition to the party.
I didn't want to use a wet glue just in case of seepage into the mints, extra-tacky tape just a dash on each piece.
Each mint was decorated both sides, at the party we tipped them into a cheap basket that we had sprayed gold. After dinner some of the younger guests took the basket round to each table for me.
My parents were having a vow renewal in a chapel and asked for donations to the chapel in lieu of presents.
I had seen a beautifully decorated 'postbox' in a local shop that sells exquisite wedding stationery but it was £25.
Ebay had plenty of plain boxes for around £5, this one was £7.50 including the ribbon and postage, bargain!
The guests could post their cards, money envelopes etc into the postbox, no risk of them getting lost that way. We decided not to decorate the box so that the chapel could keep it for future events.
The same shop that sold the £25 postboxes also had gorgeous table plans, absolutely stunning.
My mum made enquiries as to the price and was told £200!!
I told her I could make one from a piece of mount-board for a fraction of that.
What actually happened was that I dropped into my local picture framing shop to buy just a piece of plain mount-board but got chatting to the owner about why I wanted it. I discovered that instead of me matting and layering straight onto the board that he has a machine (similar to a heavy duty craft robo I guess) that could cut any size apertures that I wanted, that he would double-mount around the edge of the apertures, plus engrave two initials either side of the top. All done to my exact specifications and at the total cost of £25.
 |
| the picture framer man engraved my parents' initials and I followed the line with self-adhesive gems |
Within a week he had cut the board for me. A few packs of gems, ribbon and some diamante buckles all from Ebay and I got busy.
Now at this point we did not actually know how many tables there would be at the party so I had decided on nine apertures in a three by three formation. I thought that if we had five, six, seven or whatever tables that nine would still look symmetrical and that I could use the gaps for photos or perhaps flowers. Better that than have too few apertures.
In the end we had five tables so four blank apertures which I filled with photos of my parents' wedding back in 1961.
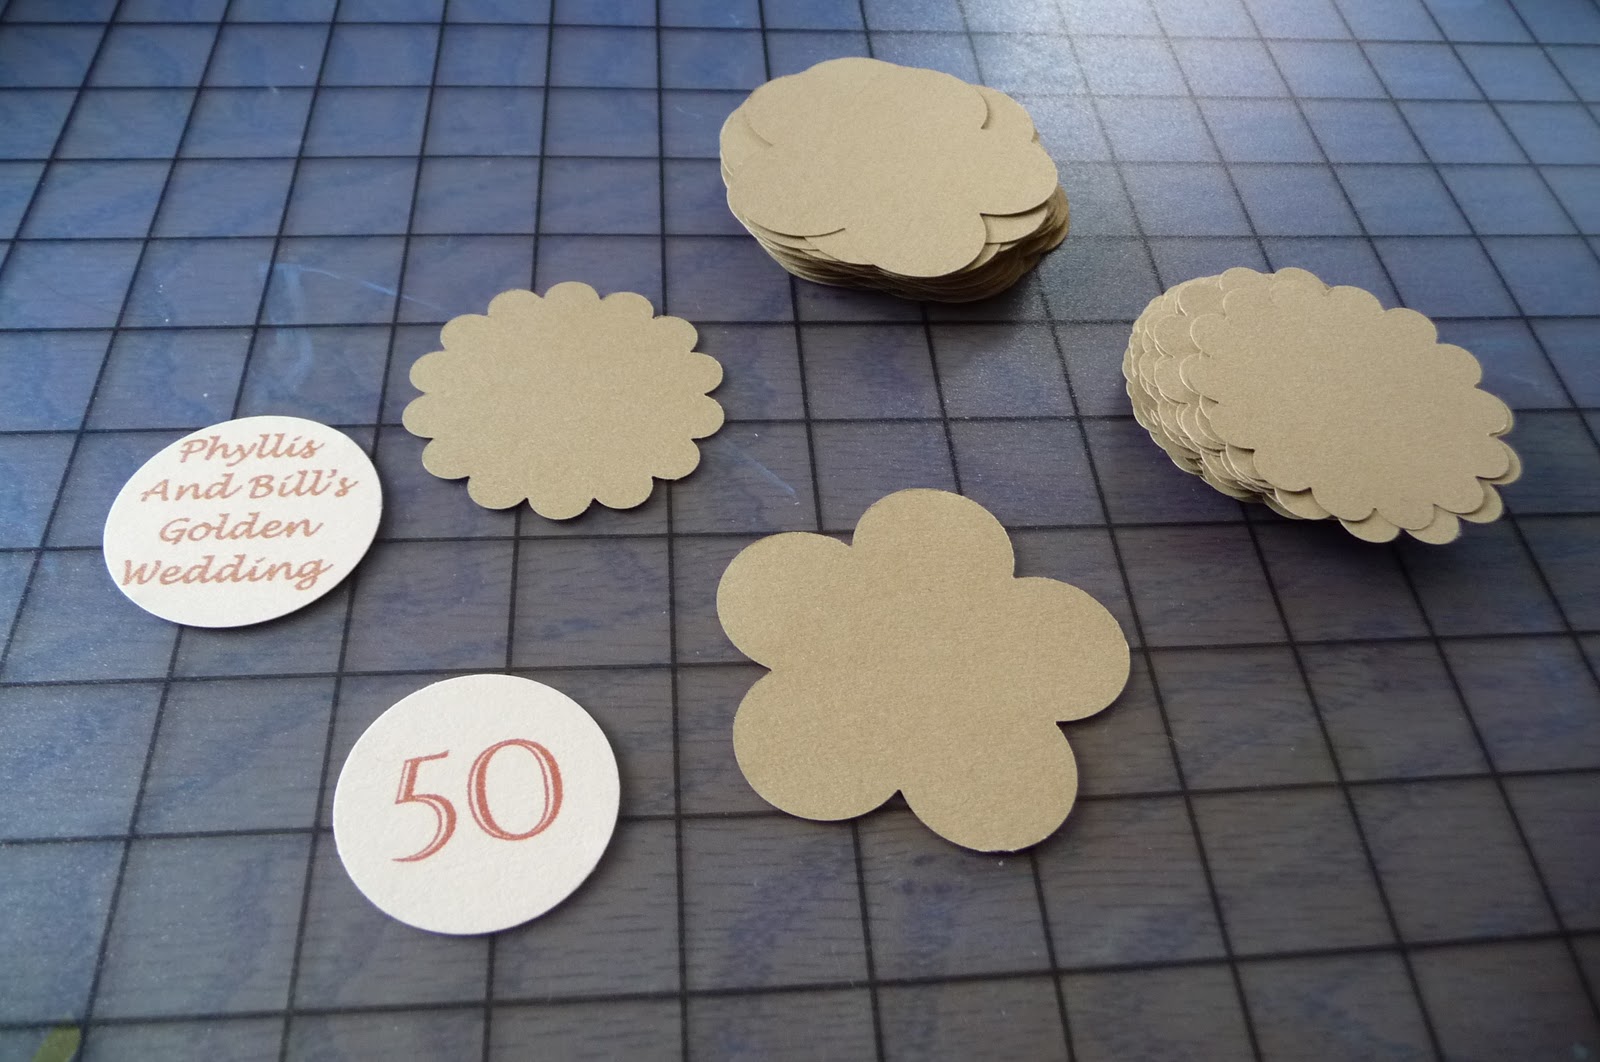
My mum had asked that I didn't use 'numbers' as table markers so no one could get offended if they were at a lower number to someone else. We came up with flower names instead and I deliberately went for the shortest names possible (rose, lily, iris, daisy, poppy) to make it easier ha-ha.
To hold the flower names we used giant pegs sprayed gold.
The guests had been asked a few weeks previously to choose what they would like to eat. I know from a job I had years ago that whenever I had arranged Christmas parties and people had to choose in advance what they wanted to eat that nine times out of ten they forgot what they had ordered.
This time I collated the menu replies so that I knew not only who was sitting at what table but also what they had ordered. I printed this out and attached it to the back of the flower table names.
I have to admit that this was the single most commented thing out of all that I had done.
The head-waitress ran to get the hotel manager when she saw them and he offered me a job, he was joking obviously but anyway it would be too much of a commute for me...
I could hear the guests coming in chatting about how they had no idea what they had ordered, then they saw the printed information, everyone saying how fab it was. *polishes halo*
It really made sorting out the lunch a whole lot smoother, especially for the waiting staff. I wonder if the hotel are going to start something similar themselves now.
The head-waitress suggested we put the icing-bag sweet favours into the water glasses, they fitted perfectly.
The completed table plan, just a few gems had dropped off on the long journey but I had taken spares with me so no gaps visible :)
The picture framer who cut my table plan also sold me an extra piece of mount-board. I popped a photo of my mum and dad in and stood it on an easel. As the guests came in I asked them to write a message on the mount-board for my parents to read afterwards. I know from my own wedding that we ended up with a guest-book that had about a hundred or so pages and yet the guests only wrote on the first six or so and the rest of the book was left blank.
With the signed board we could get it framed after the party and then it could go on a wall at my parents' house so they have a nice reminder of the party.
So that's it :)
All the hard work paid off, everything went well and we all enjoyed the party. I got lots of nice comments about the things I had created and it was fairly cheap to put together using my existing stash plus some extras.
Time for a rest now!