Friday 28 November 2014

Hope, Love


Cuttlebug embossing folder, Sizzix holly die.


Wednesday 26 November 2014

Peace


Bit hard to photograph this as it's part acetate.
Papermill Direct are currently running a tag competition, here.


I edged a piece of acetate with white Stazon ink and then stamped it with a stamp from SU Gorgeous Grunge set.
The sentiment is a PTI die and I cut it twice, layered it, then covered with glitter.


The 'peace' part was glued to the front of the tag, then three pieces of card layered and glued to the back.


Monday 24 November 2014

Pine-cone Tag


Another tag for the Papermill Direct challenge.

This time I've used Whispers markers to directly colour on to a Hero Arts stamp. I scattered some chunky embossing enamel over the tag and heated (from underneath to stop it blowing away) to create 'snow'.

The sentiment is a Papertrey Ink die that has been cut twice and layered for a shadow effect, and then glazed with Glossy Accents.
Faux stitching and a little distress ink round the edges of the tag to finish.


p

Christmas tags


There's a challenge on Papermill Direct's website to create Christmas tags.
I've made a few different ones, here's the first and probably the most simple; I don't always want the tag to compete with the wrapping paper!

Using a Nestabilities die I cut one circle from brown card that I had first embossed with a folder and then one from shimmery white card. I used a scalloped circle die at the top of the white circle to make the 'icing'.
An old Sizzix die cut the holly from glitter card and then a smidge of Glamour Dust to finish.

I've attached a piece of cord at the back and cut a smaller circle of white card to hide this and give a nice writing surface.


Sunday 23 November 2014

Thanks


We had a lovely time recently at a friends' house so I wanted to make a thank you card. During our stay one of our friends wore a very bright shirt absolutely covered with butterflies (he's quite a big bloke as well so lots of butterflies!)


Butterfly paper is SEI
Sentiment stamps are Waltzingmouse, I've heat embossed with SU pewter powder.


Friday 21 November 2014

Merry Christmas


Embossing folder is by Docrafts
Sentiment dies by Spellbinders


Wednesday 19 November 2014

Thanks


It's so dull here at the moment, nightmare for trying to take photos!

Anyway, sentiment stamp is by Waltzingmouse. Card it's stamped on has been spritzed with mint and gold inks.


Monday 17 November 2014

Poinsettia


Poinsettia stamp is a recent magazine freebie
Sentiment stamp by Woodware
I've used Versamark and white embossing powder with both


Friday 14 November 2014

Animals


Dies are old Cuttlebug
Stamp is Jane's Script by Woodware

Wednesday 12 November 2014

Season's Greetings


As previous post; stamps by Waltzingmouse (three separate ones).
In real life the silk crush ribbon matches the patterned paper, the paper looks washed out here.


I'm unsure whether to keep the card as it is so it's flat enough for cheaper postage or to add something else; maybe a bow or some gems or something...

Sunday 9 November 2014

Gift Boxes


Someone recently asked me if I could make boxes for these Christmas sweets.
Rolo tube is 100g, M&Ms is 90g, box-wise they are about the same size.


I started with a piece of A4, cut down to 21.5 x 21cm
I scored at 5, 10, 15, and 20cm along the longest side and then 3cm up from the bottom.

The box is slightly too short but by the time the lid is on you can't tell, it just makes it easier with the measurements as A4 is 21cm.

The lid is a fraction over 13cm square, 13.1 or thereabouts, and scored at 4cm each side.


I used SU white ink which gives a nice strong white, I tried Brilliance ink initially but it hardly showed against the kraft card.
All stamps used are Waltzingmouse, I really like that some of their sets are designed to coordinate with Nestabilities.


Friday 7 November 2014

Chocolate Orange Box


Terry's Chocolate Oranges are a real sign of Christmas to me. Currently £1 each at Tesco, I couldn't resist buying a couple, purely to use them in my crafting, not for me to eat oh no.


Frustratingly they are slightly too large in their packaging to make a one-piece box, just by a fraction. Instead I've made a box with lid, the alternative is obviously to remove from the packaging first, maybe next time I'll do that.

So for the base of the box I used a piece of plain green card 7. 7/8 inches and scored it each side at 2.5 inches (working in inches at the request of my craft club ladies, they don't get on with cm).

I stamped all over with three HOTP stamps using Versamark and clear embossing powder. If I'm stamping a random pattern with clear stamps I put them all on the acrylic block together, no need to stamp one at a time.


Same with the lid, a piece of gold card stamped pretty much all over; the corners are going to be hidden so I wasn't too bothered about stamping those bits.
Gold card is 7" square and scored each side at 2"

Corners cut up one side, a slice trimmed off, and ultra-strong tape to adhere the box.


That gives something a little like the above photo (I didn't stamp this one first, was a prototype)
By the time the chocolate orange is inside the lid is then raised by the size of the original packaging.


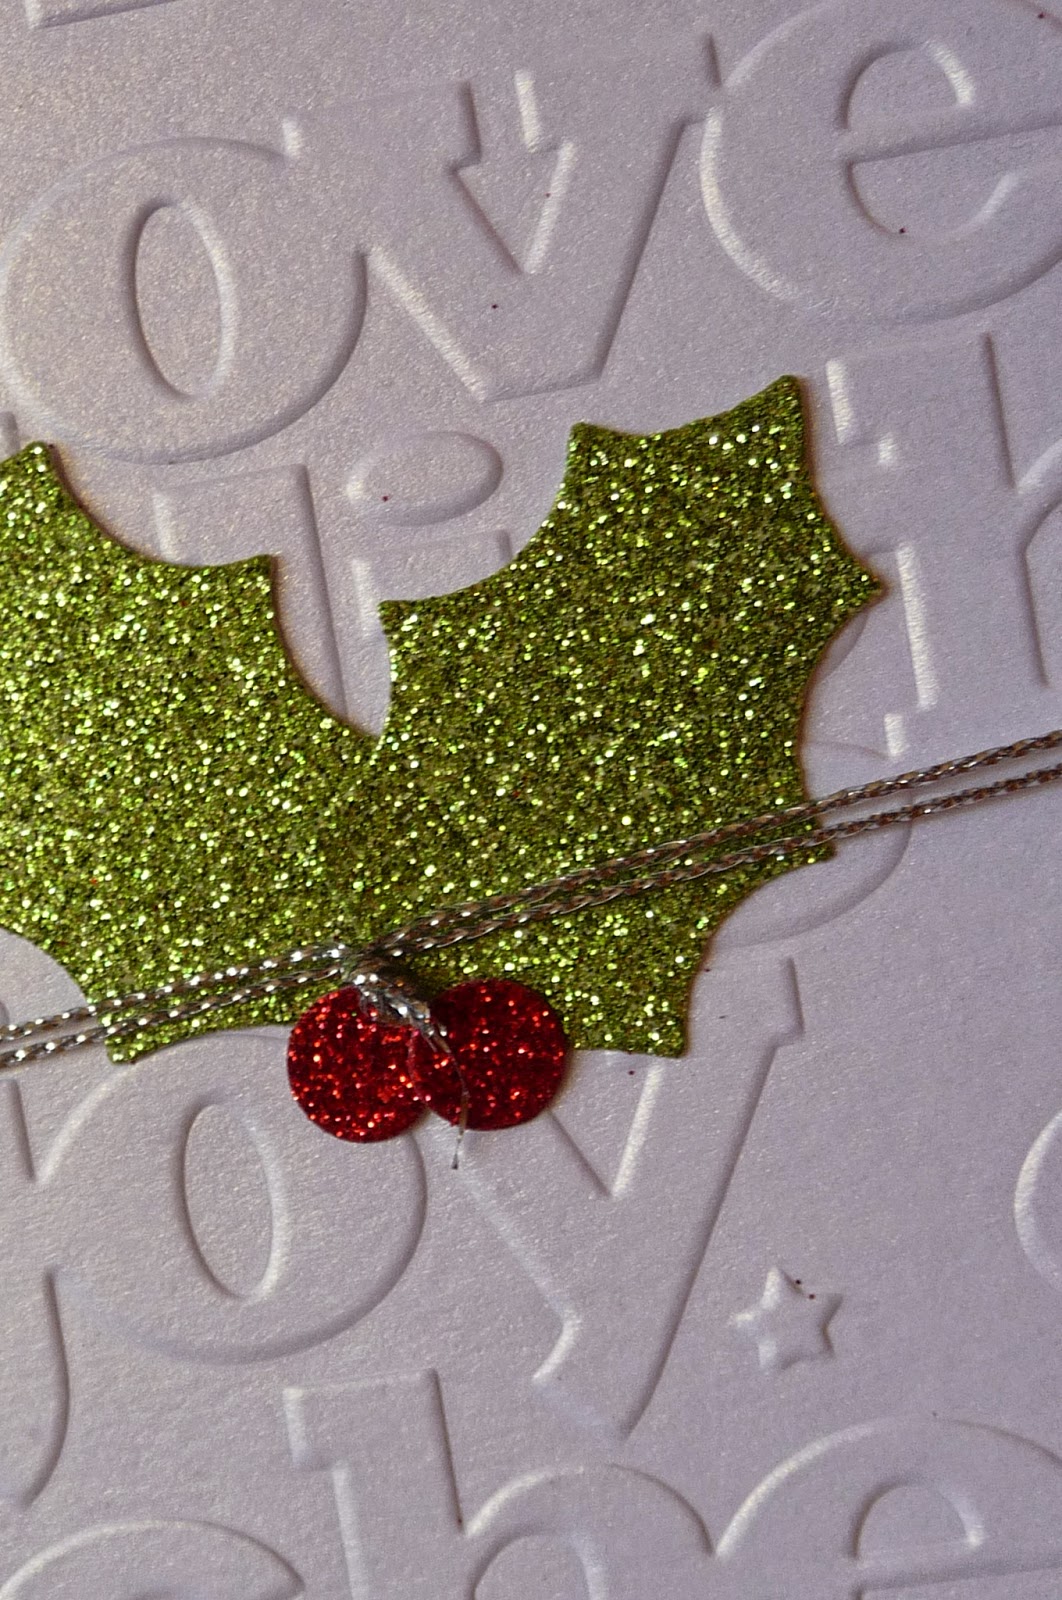
Some sparkly cord tied round the box


Spellbinders poinsettia die set to make the topper


Very simple to make and no one guessed what was inside so a good way of disguising a stocking-filler present.


Monday 3 November 2014

Merry Christmas


Snowflake die -  Memory Box
Sentiment -  Simon Says Stamp
Scallop die -  Spellbinders
Patterned paper - Papermania