Saturday, 30 August 2014
Tall box
A kind lady at my craft club has been baking birthday cakes for the other members recently.
I wanted to make her a small gift to say 'thank you'.
I know there are a million box-making tutorials out there but I like to make a box for a specific item rather than make a random box and then have to search high and low for something to fit in it.
I use Stampin' Up! grid paper to size out my boxes, the squares make it easier to see how many centimetres I need to measure out.
I cut a piece of card-stock down to 26 x 20cm then scored it at 6, 12, 18, and 24cm.
On the long side I scored at 3cm. I then cut away the small corner and decorated with some panels of SU patterned paper before assembling the box, the base just needs taping too (not shown on the photos but I'm sure you can figure it out).
Red ultra-sticky tape is on offer this weekend at Affixit Craft, it's a bargain price anyway but until midnight on Sunday everything is Buy-One-Get-One-Free. That works out at 40 rolls for £12.98, less than 33p per roll. Their 'Super Sticky Kit' is also really good value.
To make the lid I cut a piece of card-stock to 14cm square and scored it at 4cm all round.
If I am making a lid I don't butt the card-stock all the way into the left-side of my scoring board, I pull it away about 1 or 2mm, if you don't do this you'd need to cut the card just slightly larger than 14cm.
I made a small hole in the centre of the card-stock before sticking the lid together.
I bought these biscuit sticks in Tesco, another BOGOF, they fit perfectly in the finished box which is about 17cm by 6cm.
Hopefully you can see why I made the hole in the centre of the lid. I wanted the lid to be held tight to the box so instead of tying ribbon over it I wrapped the ribbon up two sides of the box and then brought the ends up through the inside of the lid, before tying in a bow.
It is much more secure than if I'd just tied the ribbon round the outside, there's no way it's coming off!
This will work with any size box/ lid and if you've got plenty of ribbon you can bring it up all four sides and tie in double bows.
I finished the box off with a die-cut from a Clearly Besotted die, I think these are really good value at £2.50 each, cute font, I just trimmed the edges slightly to fit.
Labels:
Box,
Clearly Besotted,
gift box,
Stampin Up,
thank you
Wednesday, 27 August 2014
Cracked Flower
Image is a freebie with the current Docrafts magazine. There's an article in there about using embossing powder to make a cracked finish.
I used the technique but changed the card design to my own.
The image was covered with Versamark clear ink then sprinkled with clear embossing powder (just the normal stuff, not UTEE) then heated. This was repeated another two times, so three layers of ink and powder altogether. Left a few minutes to cool you then bend the image in different directions to form the cracks, it looks like a vintage tile.
If you don't like how you've cracked it then a quick blast of the heat gun smooths it all out again.
After the cracking I rubbed a beige ink pad over the image and buffed off, this emphasises the crackles where the ink seeps in.
I've done something similar years ago but thought you had to use UTEE, I didn't realise ordinary clear powder would work just as well :)
Monday, 25 August 2014
Gift Bag
I posted a man's card recently and decided to make a gift bag to match.
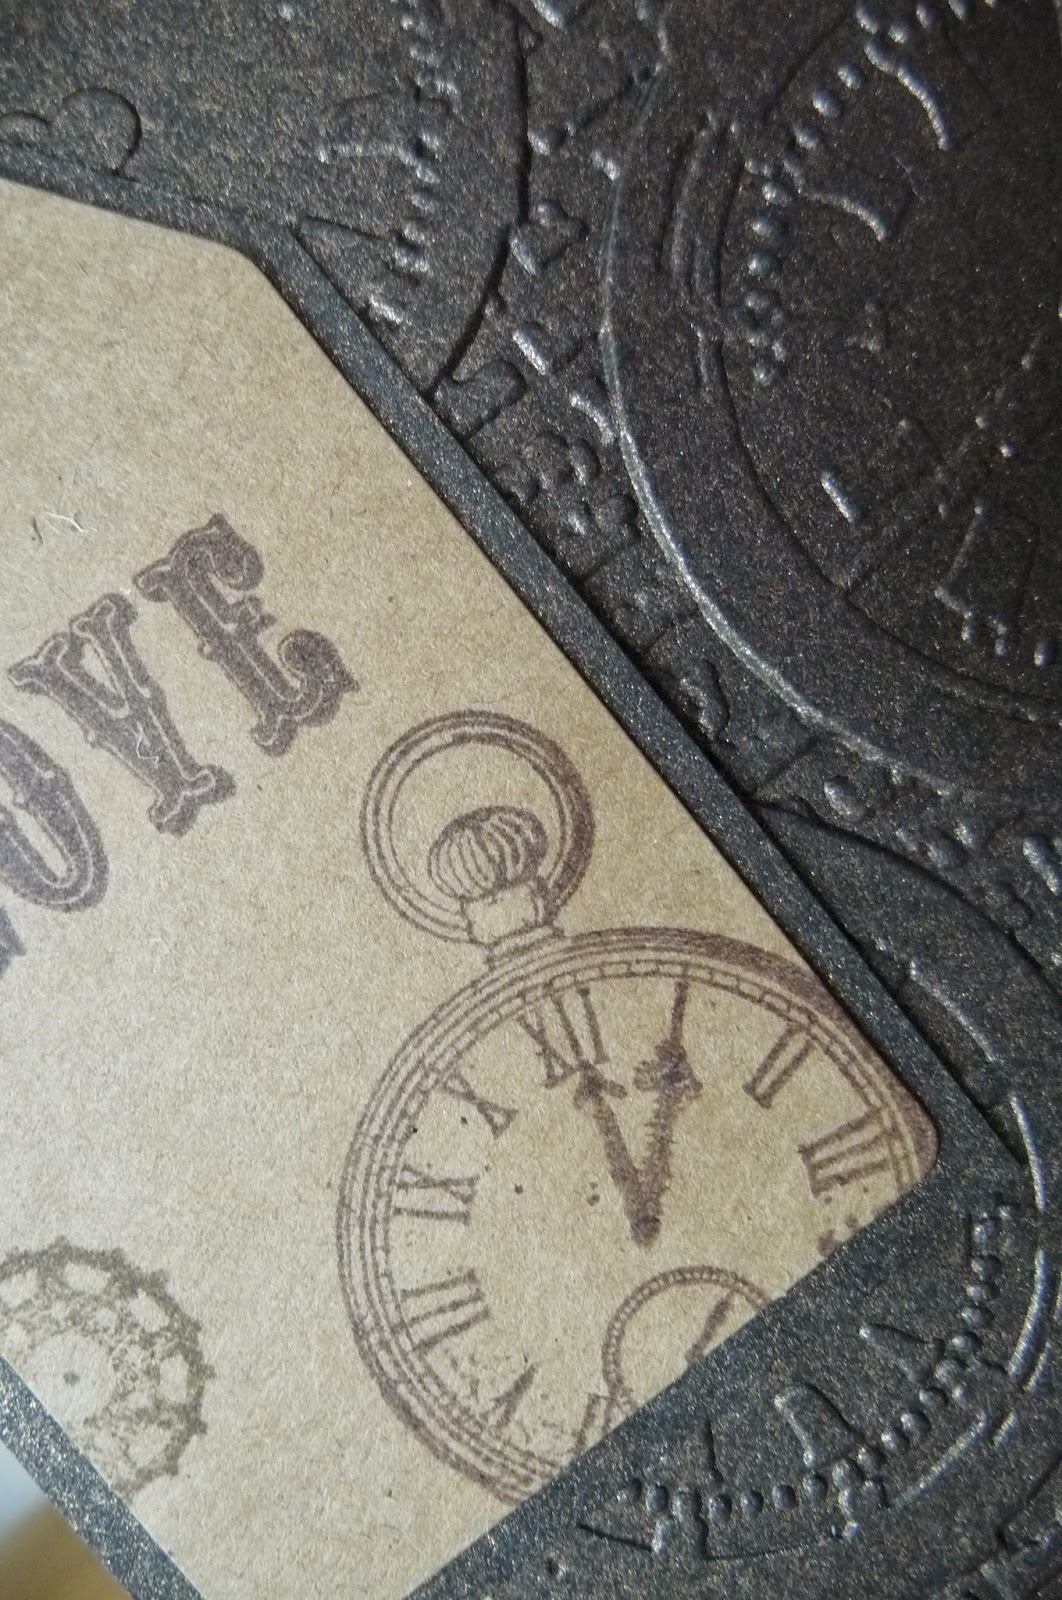
Bag and embossing folder are Papermania
Stamps are HOTP and Clearly Besotted.
Saturday, 23 August 2014
Poppies
A lady at my card club adores poppies so every year I try and make her a poppy-themed birthday card.
I found a free digital image over on Bird's Cards, this is a great site for people who have digital cutting machines as Bird designs cut files. I came across the site because there was some controversy recently regarding a company 'taking' one of Bird's files and using it to sell products on a TV craft channel. If you want to read about it Bird has done a blog post here. Since then her terms and conditions have changed, anyone posting one of her images/ files is requested to link to her blog, of course I am more than happy to do this as am grateful to have the freebie poppy stamp :)
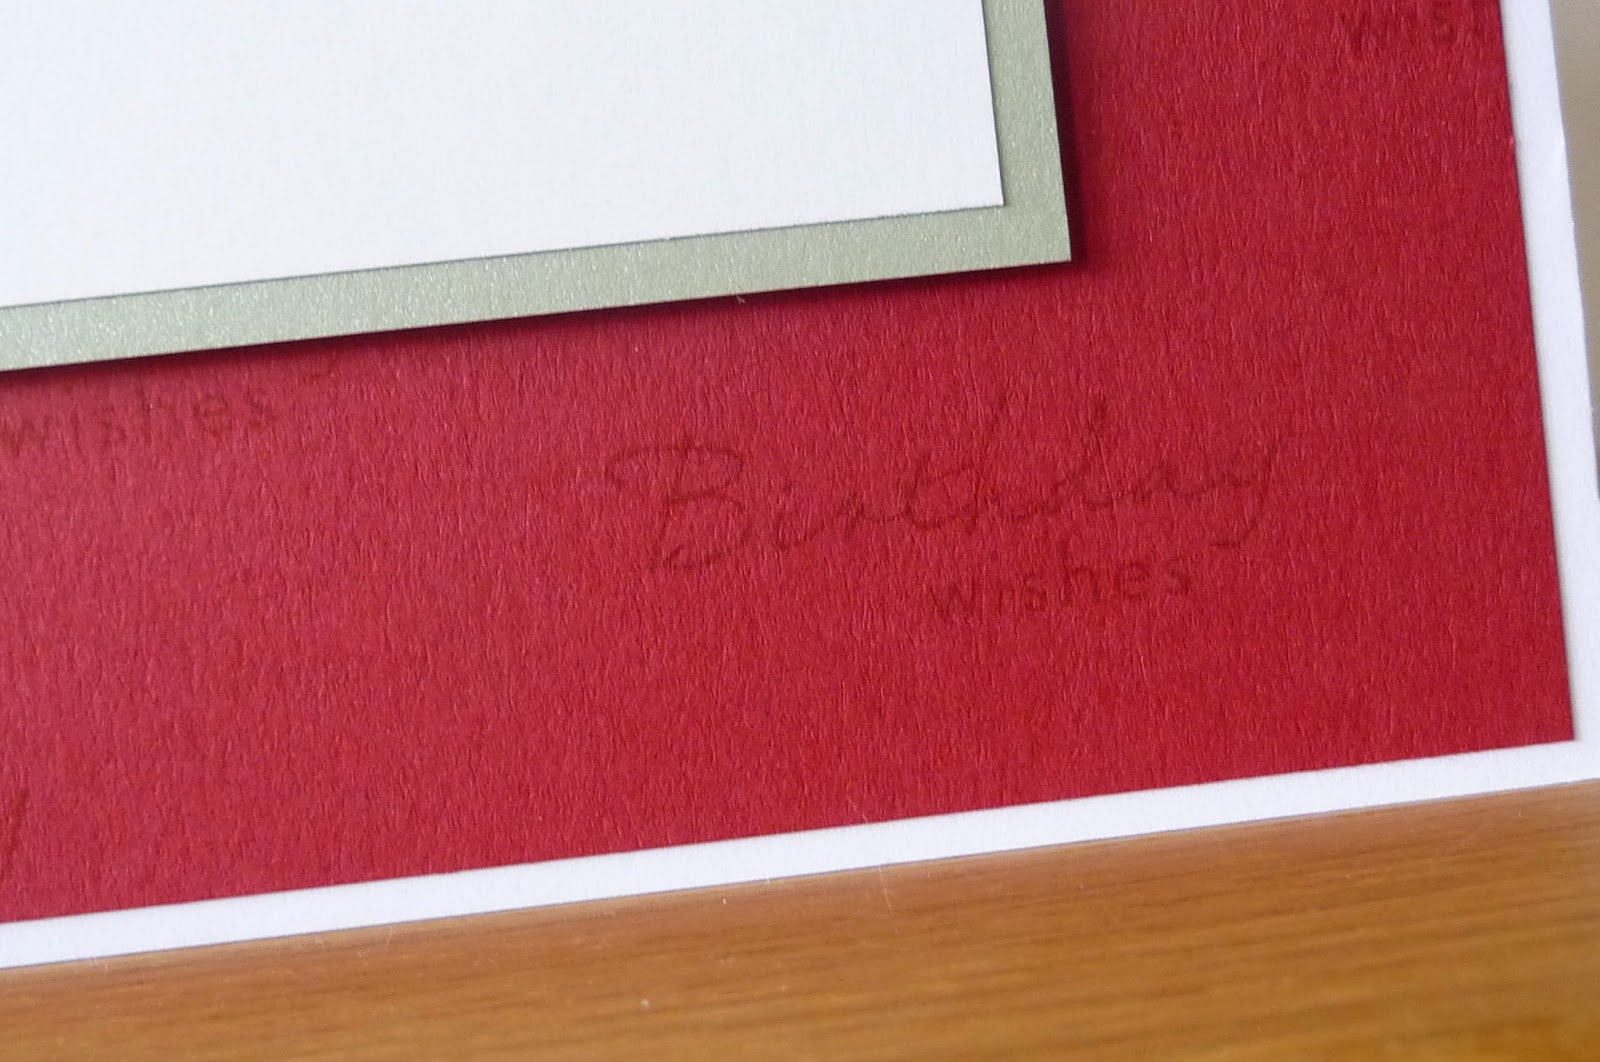
So this is a 8 x 8 inch card, I've coloured the image with Copics. It's very difficult to see on the photo but I've stamped all over the red card with a Waltzingmouse sentiment stamp in red ink.
Saturday, 16 August 2014
Mini Album
A relative of a friend has been selling lots of her stash collection, due to a move abroad.
I picked up some bargains including a mini album kit, could not resist at £1.00!
All items are Bo Bunny except for the ribbon
Tuesday, 12 August 2014
Happy Birthday
Papers are SU, the flowers in bottom right are cut from a sheet of 12 x 12
Sentiment die is Tonic, I've added Glossy Accents.
Wednesday, 6 August 2014
Sunday, 3 August 2014
Subscribe to:
Comments (Atom)


