Thursday, 26 May 2016
Happy Birthday
I started with a piece of shimmer white card and stamped some Altenew Peony Scrolls stamps and then heat embossed with white powder.
I then used Colour Cloud blending ink in a pale lilac all over the card. A darker blending ink was used to colour inside the flowers (I just used a damp water- brush for this)
The sentiment is a PTI stamp and the tiny dots are from the inside of sequins.
Monday, 23 May 2016
Vintage
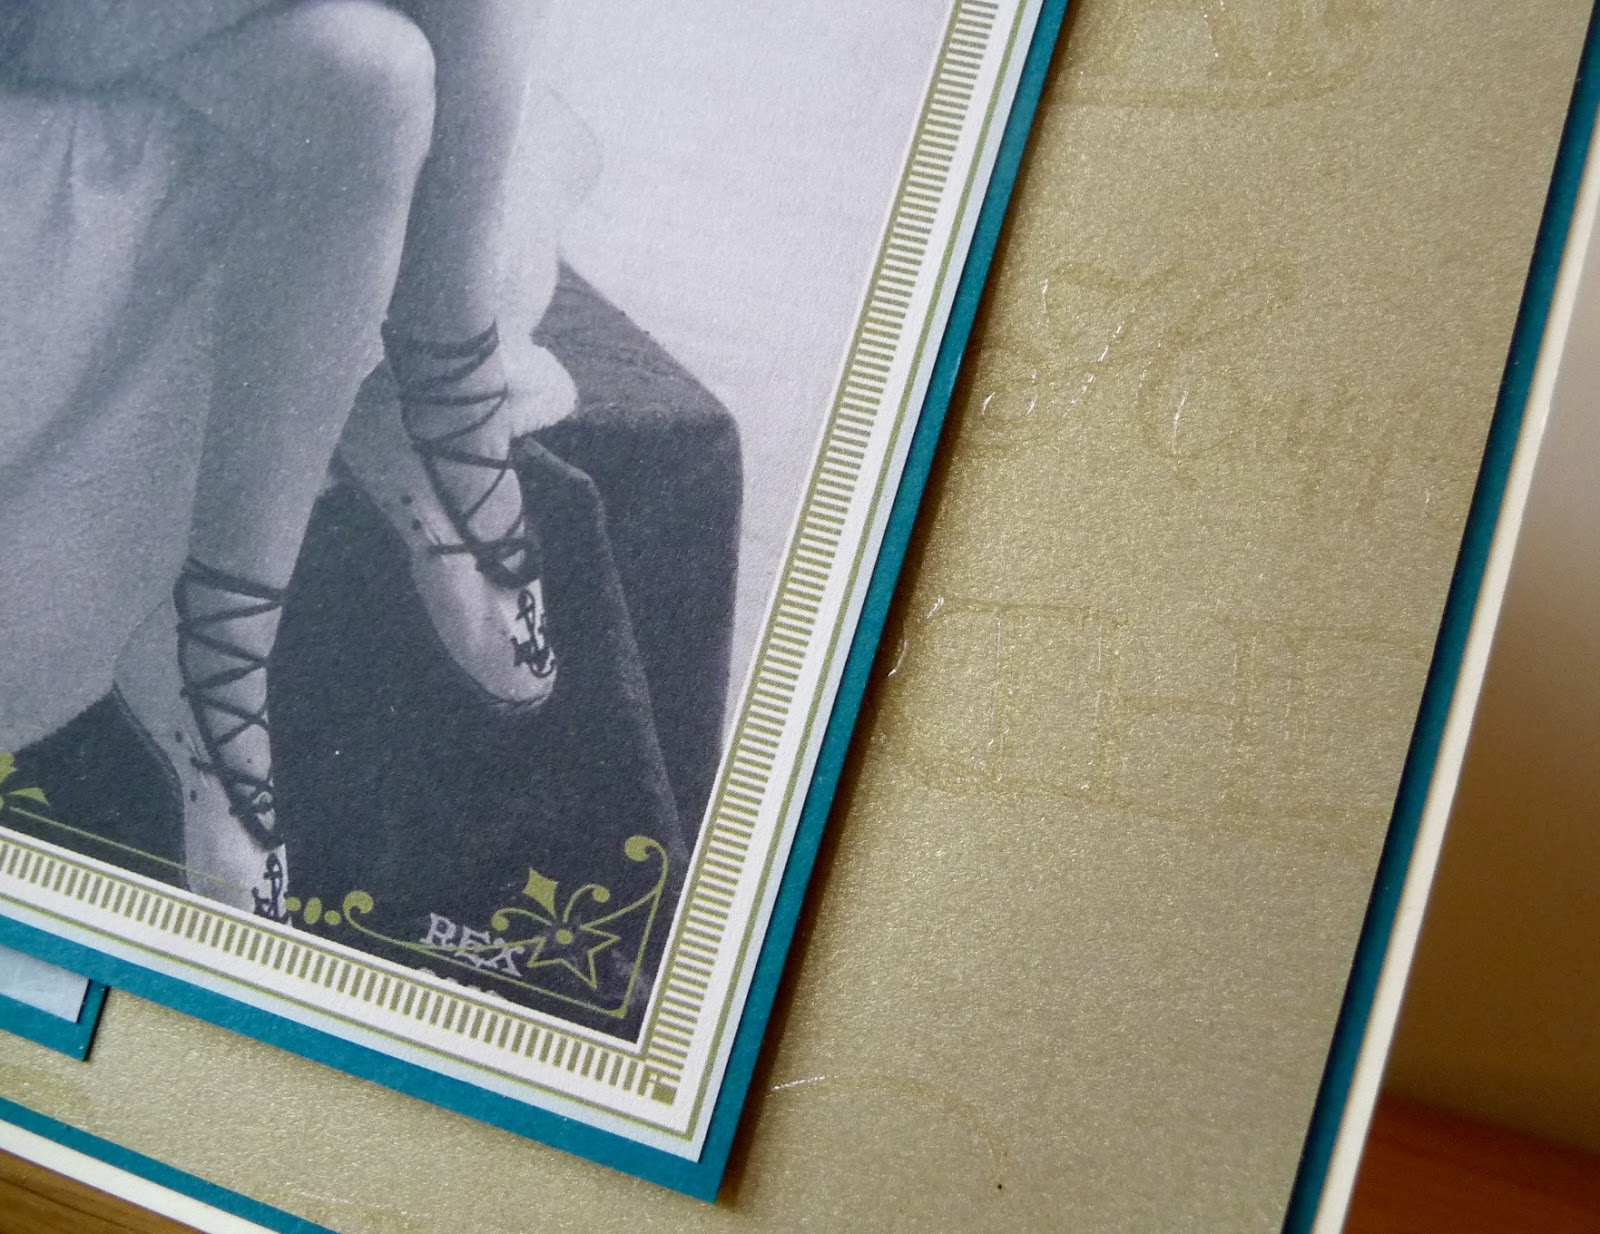
Papers/ image are from the Cardmakers Collection magazine. Card is 8 x 8 inches.
I've Versamarked and clear embossed the gold card with an Inkadinkado stamp - bit difficult to see here but it's 'happy birthday'
Friday, 20 May 2016
Bloomers
Papers/ Images are all from 'The Cardmakers Collection' magazine.
I've added some embossing enamel .
Tuesday, 17 May 2016
Thanks
I was playing round with spritzing inks but couldn't get the look I wanted with this card. After I'd stuck everything down I figured out it wasn't the inking that was at fault it was the proportions - I'd put the sentiment too high up the card. The thread was then added as an after-thought to try and re-balance it all.
Anyway, the sentiment die is by Memory Box and the faux enamel dots were made with Nuvo crystal drops. Stamp is by Personal Impressions.
Friday, 13 May 2016
Cheers!
Stamp by Woodware, I've added Glossy Accents in places
I've used Creative Expressions Metallic Polish to make the red and green layers. I bought a couple of pots of this without having a clue what to do with it, I'm patiently waiting to see if CE put a video up :)
Wednesday, 11 May 2016
Thanks
Everything here bar the sentiment die is by Stampin' Up!
The finished card is 7 x 7 inches.
I've used a brayer to ink the embossing folder before running it through my machine. I then die-cut the sentiment from the centre and replaced it with a darker die-cut for an in-laid effect.
Some random leaf and flower stamping and now I'm looking at the photo I think I'll add some pearls to those die-cut flowers.
Saturday, 7 May 2016
Baking Sampler
Stamp is by Woodware
Please excuse my colouring in!
I've added Glossy Accents in places (mixer, pie tin, icing nozzle, eggs) and a teeny sprinkle of glitter on the mixer and the flour.
Thursday, 5 May 2016
Boots
Stamps are by Woodware. I've cut the footprint stamps into two as they were originally one stamp with side-by-side prints.
I've used Colour Cloud inks to edge and added (real!) stitching.
The ombre paper is by Craftwork Cards, originally I was going to have the blue at the top and green at the bottom so it would look like sky and grass. After I'd stamped the footprints on the left hand side it looked too cluttered hence turning it round.
Finished card is 8 x 8 inches.
Tuesday, 3 May 2016
Glorious
I spotted a clever fancy-fold card recently on Pinterest, it's by Jan B, here.
My version uses an A5 landscape card-blank from Samuel Taylor's, and the front of the card is simply folded back on itself. The 'z' band is folded exactly the same way just that it is obviously much narrower and it's adhered the opposite way round to the fold of the card-blank.
Clear as mud? Watch Jan's video on YouTube and it will make sense!
The video is very long at over 42 minutes but she is including all the measurements and how she has decorated her card etc.
I didn't bother measuring anything because I think once you have the fold sussed you can do it on any size card and then just mat and layer or whatever. The easiest way to get the band the correct size is just to trim a strip an inch down or so from the plain card blank after you've folded it.
For my card I've used a large Hero Arts text stamp, clear embossed. The sentiment on the band is by Woodware and the one inside is by Hobby Art. The flower stamp and punch are by SU.
Wednesday, 27 April 2016
Tilda
One of the card club ladies really likes Tilda papers so I used them to make this card for her birthday.
I had attended to hand-stitch all the way round but on the day I burnt my thumb and couldn't do much at all!
Monday, 25 April 2016
Saturday, 23 April 2016
Thursday, 21 April 2016
Tuesday, 19 April 2016
Sunday, 17 April 2016
My Birthday
I've had a birthday recently and was lucky to receive so many lovely handmade cards. I'll be showing them here for the next few days.
Friday, 15 April 2016
Circle Easel
I've wanted to try circular easel cards for a while and finally got around to it this week.
This card is nothing at all how I had planned it (plan was a scalloped circle with K& Co papers and some ribbon...)
Finished card is about 7 inches diameter, I've used a Stampin' Up! punch to make the flowers and the actual card was made using Spellbinders dies.
Monday, 11 April 2016
Flower Planter
I spotted this style of card on Pinterest and bought the tutorial from Bronwyn Eastley, it's similar to the pop-up box that was really popular a year or so ago.
Quite difficult to get a photograph without all the flowers looking like they are leaning over, in real life they are straight.
The hardwood stamp, sentiment, and leaf punch are Stampin' Up!
The flower stamp and matching die are Heartfelt Creations.
Labels:
acetate,
flowers,
Heartfelt Creations,
pop-up,
Stampin Up
Thursday, 7 April 2016
Stampbord
More playing with Stampbord and this card is very unusual for me because I never normally use orange (cards, clothes, home interior, anything really)
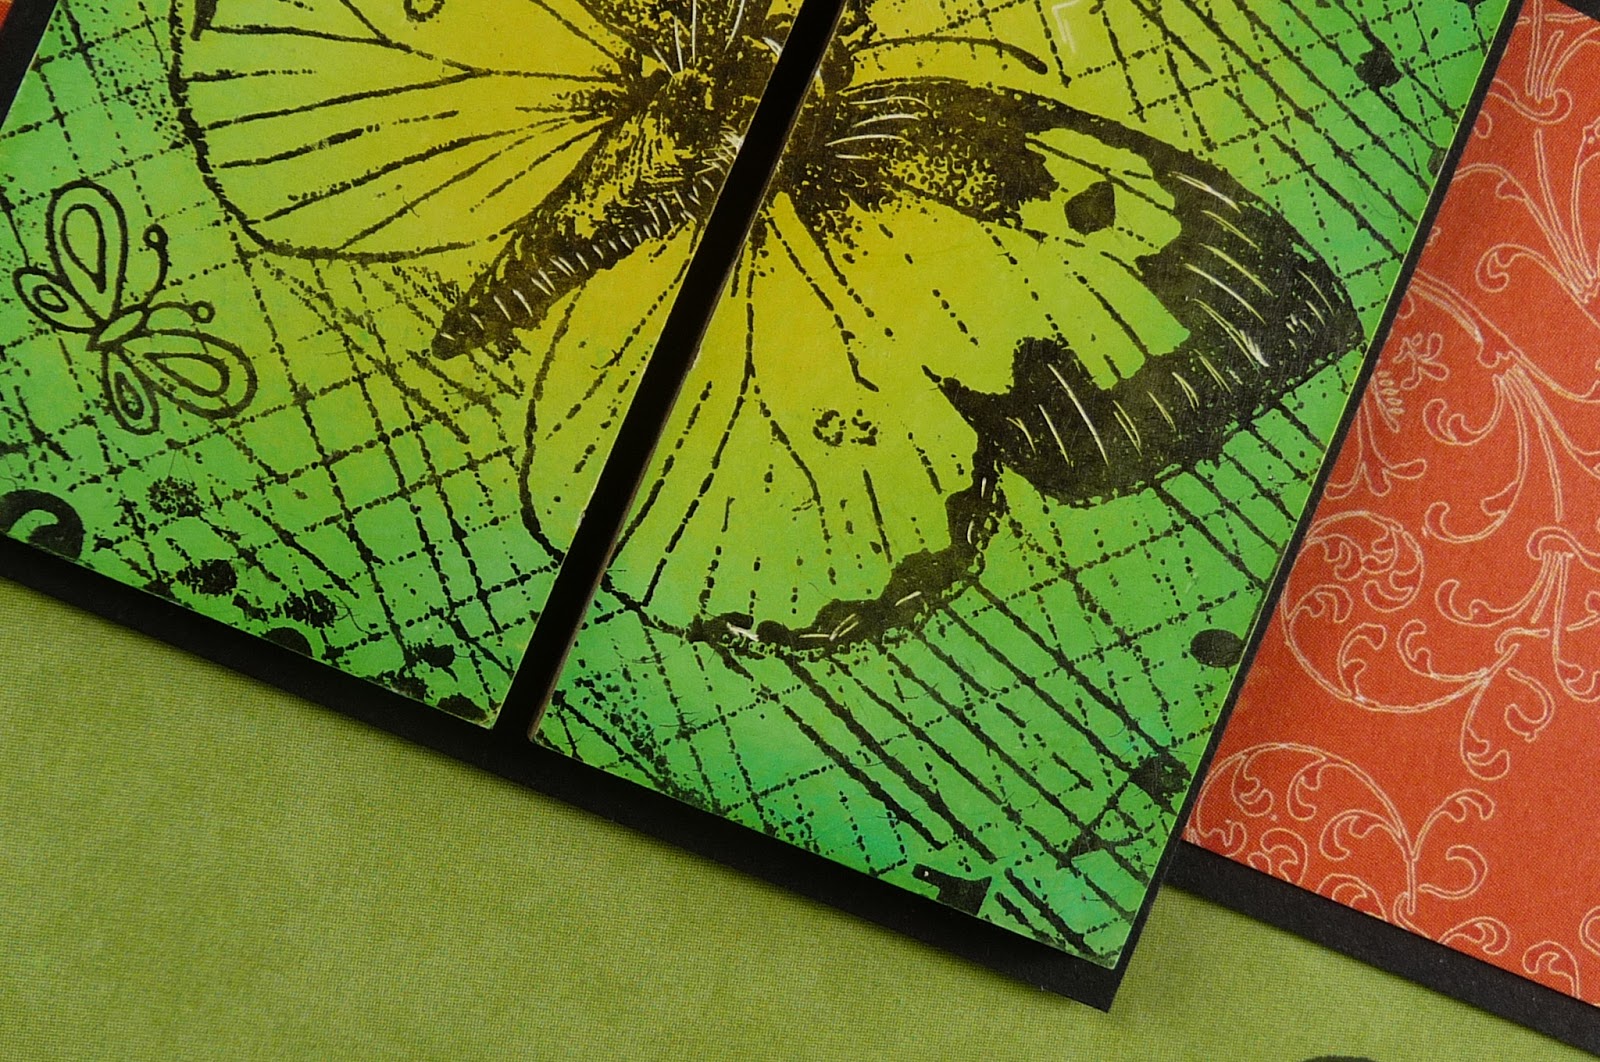
This time I tried two tiles and used washi tape to hold them together at the back while I inked and stamped.
I used a mix of four Distress Inks to colour the tiles before stamping (I think it's a Hero Arts stamp but could be wrong).
The Distress Inks gave a much more vivid, intense colour than the Colour Cloud Blending Inks but the Colour Cloud went on much smoother. The problem with the Distress Inks is that because the tile has depth to it you can't slide the applicator tool off a silicone sheet on to the tile like you would with a flat piece of card.
The Papillon sentiment is from a JustRite set. After stamping the tiles I took the washi tape off and separated them a little before mounting.
Tuesday, 5 April 2016
Stampbord
I mentioned last time that I wait quite a while before trying something out/ using new stash.
Well I bought some Stampbord ten years ago...
Actually I did take it straight out of the packet at the time and made a couple of tiles, thought it was fun, but didn't actually progress to making a card with the decorated tiles.
I'm always looking for new techniques for my card club so dusted off the bag of Stampbord again recently and had a play.
The tiles are quite thick but light-weight and you can basically apply inks, stamp them, punch holes in them etc. You can also use an etching tool to scratch off any ink you have applied so you get very fine detail white lines. The Range sell etching tools with the children's art/ toy section.
I used Colour Cloud ink on this one, then stamped a magazine freebie butterfly stamp. I scratched some small white pieces but it's not hugely noticeable - I think because the lilac ink is very pale anyway.
I then tried adding some silver Frantage embossing enamel but it was quite hard to heat as normally I hold the heat gun underneath the card to stop the enamel blowing away and with this being a thick tile you can't do that. I think it maybe would work better using normal embossing powder with a grunge-texture stamp or similar.
A little 'darker' than the kind of thing I normally make but it was fun having a play.
Monday, 4 April 2016
Butterfly
I've seen this style of folded card on Pinterest but never really took any notice on how to make them, I have the attention span of a goldfish and struggle to sit and read instructions. The other night I was watching Create and Craft and one of the guests showed how to make one, the way she explained it was quite simple so I made it pretty much straightaway - very unusual for me because normally I wait
I used two dark purple 6 x 6 card blanks
Butterfly and sentiments are SU
I've used Colour Cloud ink for a bit of blending, love these inks and find them so much smoother and easier to use than Distress Inks.
Subscribe to:
Posts (Atom)